
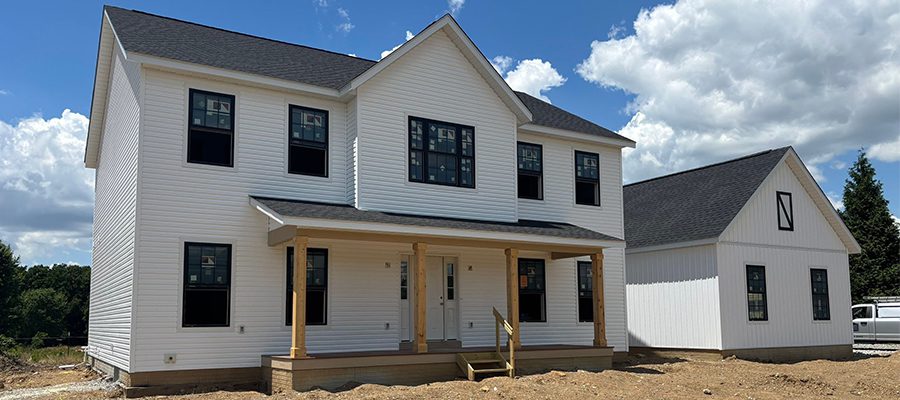
This Madison II is complete—and there’s plenty to see!
Two kitchen islands, an expanded dinette, five bedrooms, and bold black finishes make this home their own. Explore the finished photos, customized floor plans, and video walkthrough. Then keep scrolling to see how it all came together.
Tour the Finished Madison II →
Trim & pre-Punch
The finish line is getting close. With the flooring complete, the interior trim install begins and the team is working through the details—checking finishes, making adjustments and taking care of the small items that need attention before the home is complete. This stage is less about one big transformation and more about making sure all those little details come together.


Flooring, Plumbing & Lighting
Now for the details that give this Madison II some personality. Flooring is going in, plumbing fixtures are being installed, and lighting is finding its place throughout the home. These are the finishing touches that pull everything together—and after months of framing, drywall, and construction dust, it’s pretty fun to see the choices made on paper finally show up in the actual rooms.


Kitchen & Bathroom Countertop Installation
After the cabinets are securely installed, the custom countertops are carefully delivered and set in place. Whether it’s quartz, granite, or another selected material, each countertop is fabricated specifically for this home to ensure a precise fit.
The kitchen island suddenly becomes the centerpiece of the home, bathroom vanities take shape. While sinks and plumbing fixtures will be connected soon, you can finally see the vision coming to life—and there’s still plenty of excitement ahead.


Interior Trim Installation, Drywall Punchout & Painting
With the drywall complete, our trim carpenters begin installing interior doors, door and window casings, baseboards, and other finish carpentry throughout the home. These details add character and begin transforming the house into a home.
Once the trim installation is complete, our team performs a drywall punchout, carefully inspecting the walls and ceilings for any minor imperfections. Any blemishes are repaired to create a smooth, clean surface before moving to the next step.
With those final touch-ups complete, the painters begin applying primer and the first coats of paint. It’s one of those milestones where the home starts to feel finished, and each room begins to reflect the vision that was once only on paper.


interior trim delivery
The next phase is underway as interior trim arrives on-site. Baseboards, door casings, window trim, and other finish materials are delivered and organized before installation begins. While it may not seem like a major milestone, these details play an important role in giving each room its finished character and craftsmanship.


Cabinet installation
Cabinet installation is one of the biggest visual transformations during the build. In the kitchen, custom cabinetry defines the space and gives a true sense of the home’s layout. This Madison II features something especially unique—two kitchen islands—creating plenty of room for cooking, gathering, and everyday living. Cabinetry is also installed throughout the bathrooms, bringing each space another step closer to completion.


Tile installation & Completion
The owner’s shower is one of the first spaces in the home to receive its finished surfaces. Installing a custom tile shower is much more than setting tile. Before the finished tile goes on, the shower must be properly prepared to ensure it’s waterproof and built to last.


Garage Door Installation
With the garage doors installed, the home’s exterior takes another big step toward its finished appearance. This Madison II features two garage bays, including an oversized main bay with room for multiple vehicles and a separate single bay that adds flexibility for everyday parking, storage, or hobbies. It’s another milestone that brings both function and curb appeal to the home.


Drywall installation, mudding & taping
Once the drywall is hung, crews begin mudding and taping the seams to create smooth, seamless walls and ceilings. This process requires multiple steps and careful attention to detail, but it plays a key role in preparing the home for paint and interior finishes. As the surfaces come together, rooms begin to feel more complete and the home’s layout becomes even easier to visualize.


siding installation
The home’s exterior is taking another major step forward as siding is installed. This phase adds both protection and personality, helping define the home’s appearance while creating a durable barrier against the elements. With each section completed, the finished look becomes easier to imagine.


wall insulation
Before the walls are closed, insulation is installed throughout the home to help improve energy efficiency, indoor comfort, and sound control. This important step helps keep conditioned air where it belongs, making the home more comfortable in every season. With insulation in place, the home is one step closer to drywall and finished interior spaces.


Drywall delivery
One of the biggest signs that interior progress is moving quickly is the arrival of drywall. Sheets are carefully delivered and staged throughout the home so crews can begin transforming the framed structure into finished living spaces.


Electrical installation
During electrical installation, wiring is run throughout the home to power lighting, outlets, appliances, and the features homeowners rely on every day. While most of it will eventually be hidden from view, this work lays the foundation for how the home will function long after move-in day.


Exterior wood trim Installation
The exterior is beginning to take on its finished look as porch posts are added. Temporary stairs provide easier access for crews, while the Fiberon front porch starts bringing the entryway vision into focus.


Mechanicals & materials
This stage focuses on the systems that keep the home running smoothly. As exterior trim arrives on-site, plumbers install gas lines and the furnace is set in place. While these components may not grab attention like cabinets or flooring, they’re essential to the home’s comfort, efficiency, and performance.


slab prep and pour
Before concrete is poured, the site is carefully prepared and utilities are checked to ensure everything is ready for the next phase. Once the slab is in place, construction can begin in earnest, providing a durable foundation for the home ahead.


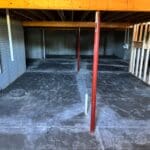


Plumbing Rough in
The home’s plumbing network begins taking shape during this phase. Pipes and drain lines are installed for kitchens, bathrooms, laundry areas, and more before the walls are closed. It’s an important step that ensures the home is ready for everyday living once construction is complete.


Window installation
With the windows installed, the structure becomes more enclosed and protected from the elements. Natural light starts filling the rooms, making it easier to appreciate the layout, views, and overall feel of the home.


Roof Installation
The roof is on, providing critical protection from weather and allowing interior work to continue more efficiently. From the outside, the home’s overall shape and design become much easier to recognize.


housewrap
After framing is complete, a weather-resistant barrier is installed around the exterior. Housewrap helps protect the home from moisture while allowing water vapor to escape, adding an important layer of defense as construction continues.


Framing
This is the stage where blueprints become a physical structure. Walls, hallways, and room layouts are fully visible, making it possible to walk through the home and experience the spaces firsthand. For many homeowners, this is when the floor plan truly starts to click.


Waterproofing + backfill
Before construction moves above ground, the foundation is protected with waterproofing materials designed to help keep moisture out. Once complete, soil is carefully placed back around the foundation to provide support and stability.


foundation
The foundation creates the base that supports every part of the home. After it’s poured, cured, and inspected, construction is ready to move forward with confidence.


DIG (excavation)
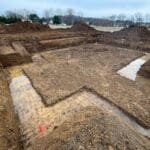
Every home starts with preparation. During excavation, the site is cleared and shaped to make room for the foundation. It may not look like much yet, but this is the first major step in turning plans into reality.


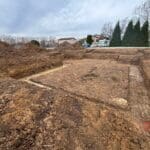
driveway install
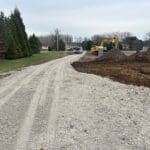
The driveway base is installed to create a strong, long-lasting foundation for the finished surface that will come later. It’s a small detail in the overall process, but it helps complete the picture of how the property will function day to day.



Thinking about building on your own land? We’d love to show you how it works! Contact us today!
